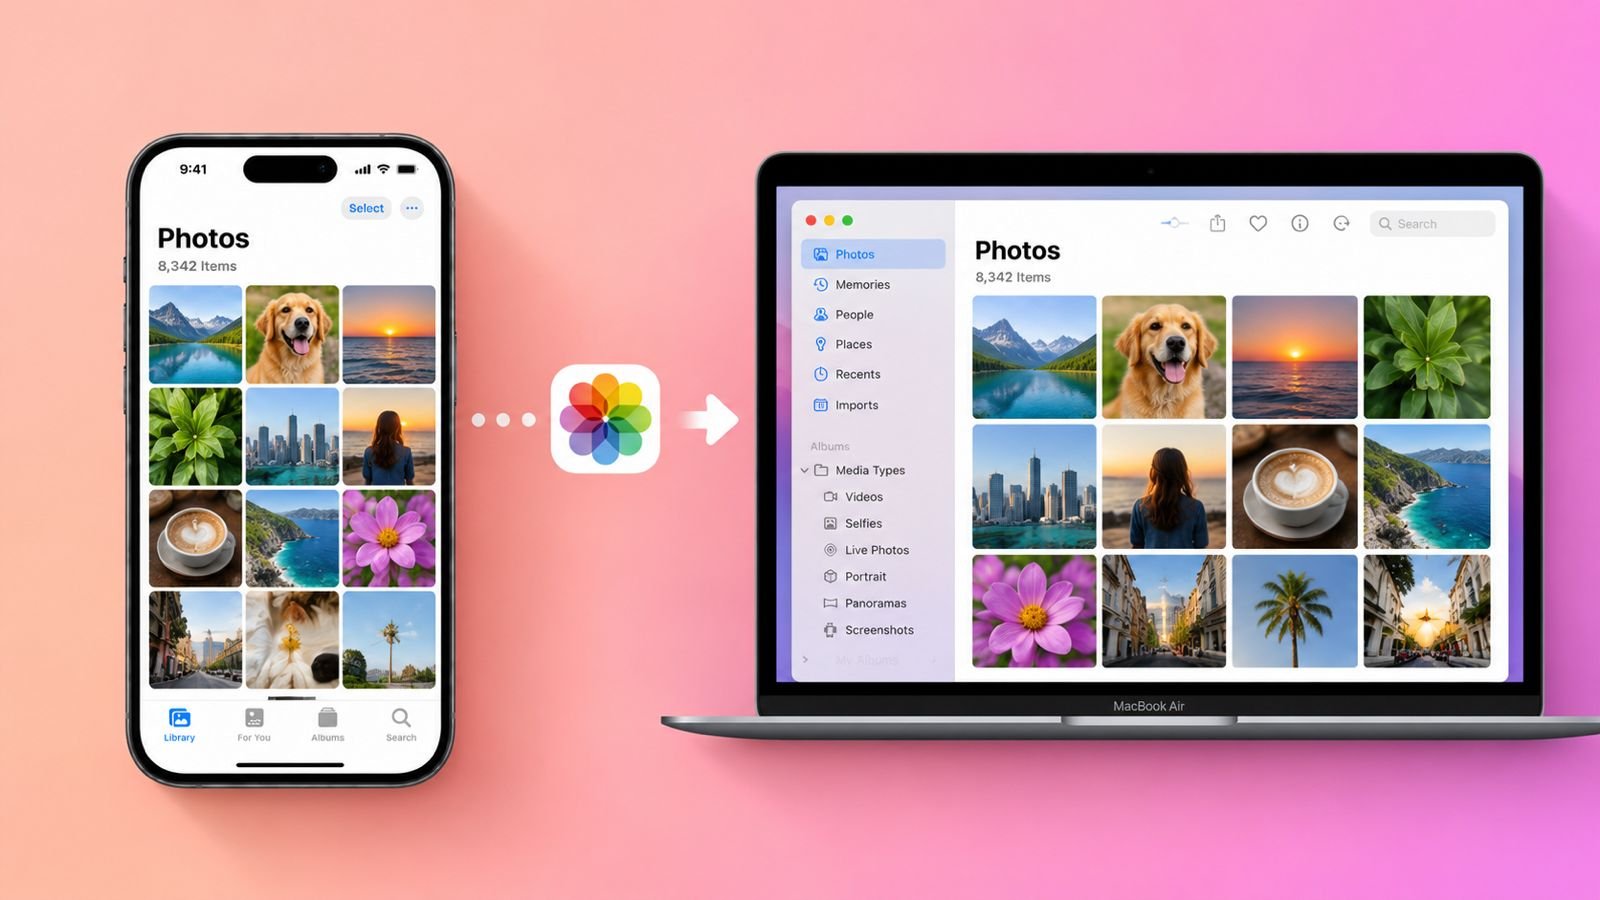

Transfer or Move your photos safely from iPhone to MacBook Air. You can choose wireless or wired transfer methods.
iCloud keeps your photo library synchronized automatically. AirDrop and cables offer more transfer control.
Transfer Photos from iPhone to MacBook Air Wirelessly
Moving photos wirelessly feels easier for everyday use. You avoid cables and complicated connection steps. Apple provides two useful wireless transfer options. These include iCloud Photos and AirDrop. Each option works better for different situations.
Use iCloud Photos for Automatic Transfers
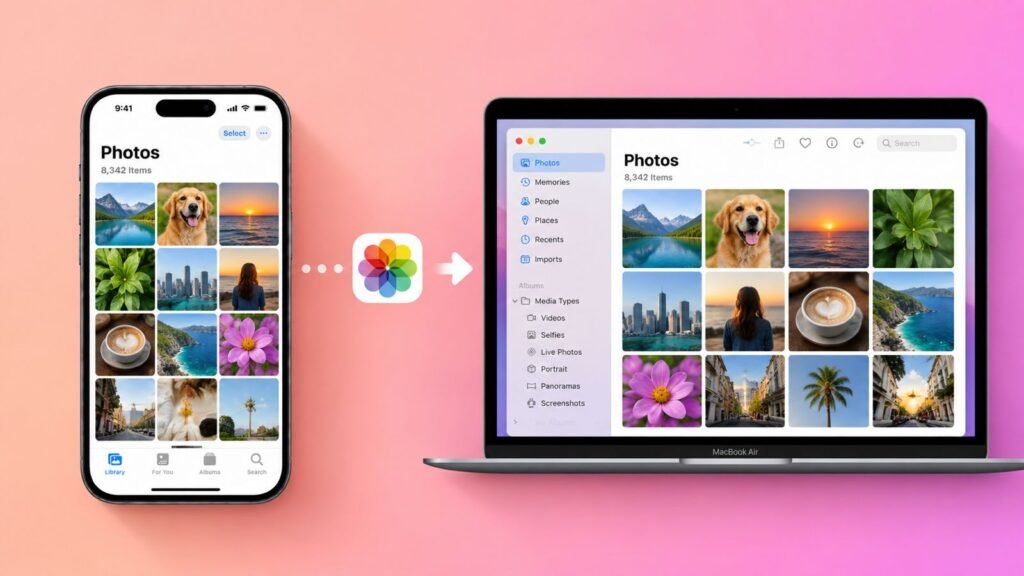
iCloud Photos works best for regular photo syncing. It keeps your Apple devices connected through iCloud. New iPhone pictures can appear automatically on MacBook.
This saves time when you take photos frequently. You also avoid transferring pictures manually every time. However, iCloud has one important storage limitation.
Apple provides five gigabytes of free storage initially. Large photo libraries can quickly exceed this allowance. You may then need an additional storage plan.
Set up iCloud Photos on your iPhone:
- Open Settings on your iPhone first.
- Tap your Apple Account or Apple ID.
- Select iCloud from the available settings.
- Tap Photos and find synchronization options.
- Enable Sync this iPhone from there.
There is another way to enable iCloud Photos. Open Settings, then select Apps and Photos. Find the iCloud Photos option inside those settings. Turn that option on for automatic synchronization.
Now move to your MacBook Air. Open the Photos application on your MacBook. You may receive an iCloud activation request initially. Allow iCloud when that option appears there.
Sometimes the Photos application shows no request. You can enable synchronization through its settings manually. Click Photos inside your top menu bar. Select Settings or Preferences from that menu. Then open the iCloud tab inside settings. Select the checkbox beside iCloud Photos.
Your library may take time to synchronize completely. Larger libraries naturally require longer synchronization times. Avoid interrupting the process while synchronization continues. Once completed, new photos appear automatically afterward.
Transfer Selected Photos Using AirDrop
AirDrop provides more control over photo transfers. It works especially well for selected pictures. You can transfer one photo or many together.
Videos can also move through the same process. Before starting, check your wireless settings carefully. Both devices should have Wi-Fi enabled beforehand.
Bluetooth should also remain available during transfers. Keep your iPhone and MacBook reasonably nearby.
Follow these steps for AirDrop transfers:
- Open the Photos app on iPhone.
- Open the album containing your desired pictures.
- Tap one photo for single-image transfers.
- Tap Select for multiple picture transfers.
- Drag across nearby pictures for faster selection.
- Tap the Share icon afterward.
- Choose AirDrop from the sharing options.
- Select your MacBook from available devices.
Your MacBook may request transfer permission afterward. Click Accept when the prompt appears there. Transferred photos generally appear inside your Downloads folder.
AirDrop sometimes fails because of incorrect settings. Check AirDrop settings on both connected devices. Select Contacts Only or Everyone there.
If Contacts Only fails, choose Everyone instead. Switching between these options can sometimes help. Restart both devices when problems continue.
Transfer Photos Using Cable
Wireless transfers are convenient but sometimes unreliable. A cable provides another dependable transfer method. It also works well with larger photo collections. This method requires your iPhone charging cable.
Some iPhones use Lightning charging connections. Some MacBook models require suitable connector adapters. Therefore, check both ports before connecting devices.
Import Photos Directly Through MacBook Photos
Connect your iPhone using its charging cable first. Plug the other end directly into the MacBook. Use an adapter when your connectors do not match.
Unlock your iPhone after making the connection. Your iPhone may show an accessory permission message. Tap Allow to permit computer access.
Now open the Photos app on MacBook. Look for your iPhone under Devices in the sidebar. Select individual pictures that you want transferred. You can also drag across multiple pictures together.
Click Import Selected after choosing your pictures. MacBook will then begin importing your selected photos. You can transfer everything using another option. Choose Import All New Items for everything.
Imported pictures appear inside the Imports category. They also become available inside your main Library. You can choose an existing album during importing. Creating another album also helps organize pictures.
Why You Should Move Photos From iPhone
Photos and videos can consume significant iPhone storage. Large video files can fill storage particularly quickly. Apps and other files also consume available space. This can eventually leave your iPhone nearly full.
Moving pictures provides an easy storage solution. You can preserve memories without deleting them permanently. A MacBook can provide convenient long-term storage space. Windows computers and SD cards provide alternatives.
Before deleting transferred photos, verify their backups carefully. Open several pictures to confirm successful transfers. This simple check can prevent accidental photo loss.
Do You Need Imports With iCloud?
Sometimes manual importing becomes completely unnecessary. Your iCloud Photos library may already synchronize everything. Those pictures can appear directly inside MacBook Photos.
Therefore, importing identical pictures again serves little purpose. This becomes especially useful for larger photo libraries. However, remember the five-gigabyte free storage limit. Larger libraries may require paid iCloud storage plans.
Move Photos to MacBook Air and Windows
Not everyone uses a MacBook for storage. Windows computers can also receive photos from the iPhone. The process uses USB and Apple’s Devices application. This option works well for Windows users.
Move iPhone Photos to Windows PC
Start by downloading the Apple Devices application. You can find it through the Microsoft Store. Connect your iPhone using a suitable USB cable.
Your iPhone should display a permission request. Allow the connection when that prompt appears. This helps Windows communicate properly with your iPhone.
Next, open the Photos application on Windows. Select the pictures you want to transfer. Choose Import, then select From a USB device. Follow the instructions displayed by your computer.
You can save pictures inside an existing folder. Alternatively, create a new folder for them. A dedicated folder can make future organization easier.
Important iCloud Warning for Windows Transfers
iCloud Photos creates an important consideration here. Your iPhone may store optimized photo versions locally. These versions might not contain full-resolution originals.
Apple requires original versions for Windows importing. Therefore, download your full-resolution originals beforehand. This applies when iCloud Photos remains enabled.
Fix Common Photos Transfer from iPhone to MacBook Problems
Photo transfers can fail for several simple reasons. Checking basic settings often solves these issues quickly.
If AirDrop refuses to transfer photos:
- Check Wi-Fi on both Apple devices.
- Check Bluetooth on both Apple devices.
- Review AirDrop visibility settings carefully.
- Try Everyone when Contacts Only fails.
- Switch AirDrop settings once or twice.
- Restart both devices when necessary.
If MacBook does not recognize iPhone:
- Disconnect the cable from both devices.
- Reconnect the cable securely afterward.
- Unlock your iPhone before reconnecting again.
- Allow the computer connection when prompted.
- Try another suitable cable or adapter.
- Restart one or both devices afterward.
If iCloud Photos stops synchronizing:
- Check iCloud Photos on your iPhone.
- Check iCloud Photos on your MacBook.
- Make sure synchronization remains enabled.
- Check your Apple Account connection carefully.
- Confirm both devices use the correct account.
Final Tips
iCloud suits automatic everyday photo synchronization needs. AirDrop works better for selected wireless transfers.
USB provides dependable direct photo importing options. Windows users can Transfer Photos from iPhone to Windows PC using USB. Choose your method according to your needs.